Chewy Chocolate Chip Cookies

I'll never forget the afternoon I tried these cookies for the first time! Mida & I were sitting on the concrete steps outside of school, having lunch. She pulled out a small glass tupperware to share some she had just baked. I've eaten a lot of chocolate chip cookies in my lifetime, and so far these top all.

These chocolate chip cookies are perfection: crispy on the outside + chewy on the inside. This recipe is from Sally's Baking Addiction:

fullsizeoutput_824.jpeg

ingredients:

  • 2 and 1/4 cups all-purpose flour
  • 1 teaspoon baking soda
  • 1 and 1/2 teaspoons cornstarch
  • 1/2 teaspoon salt
  • 3/4 cup (1.5 sticks) unsalted butter, melted
  • 3/4 cup loosely packed light brown sugar
  • 1/2 cup granulated sugar
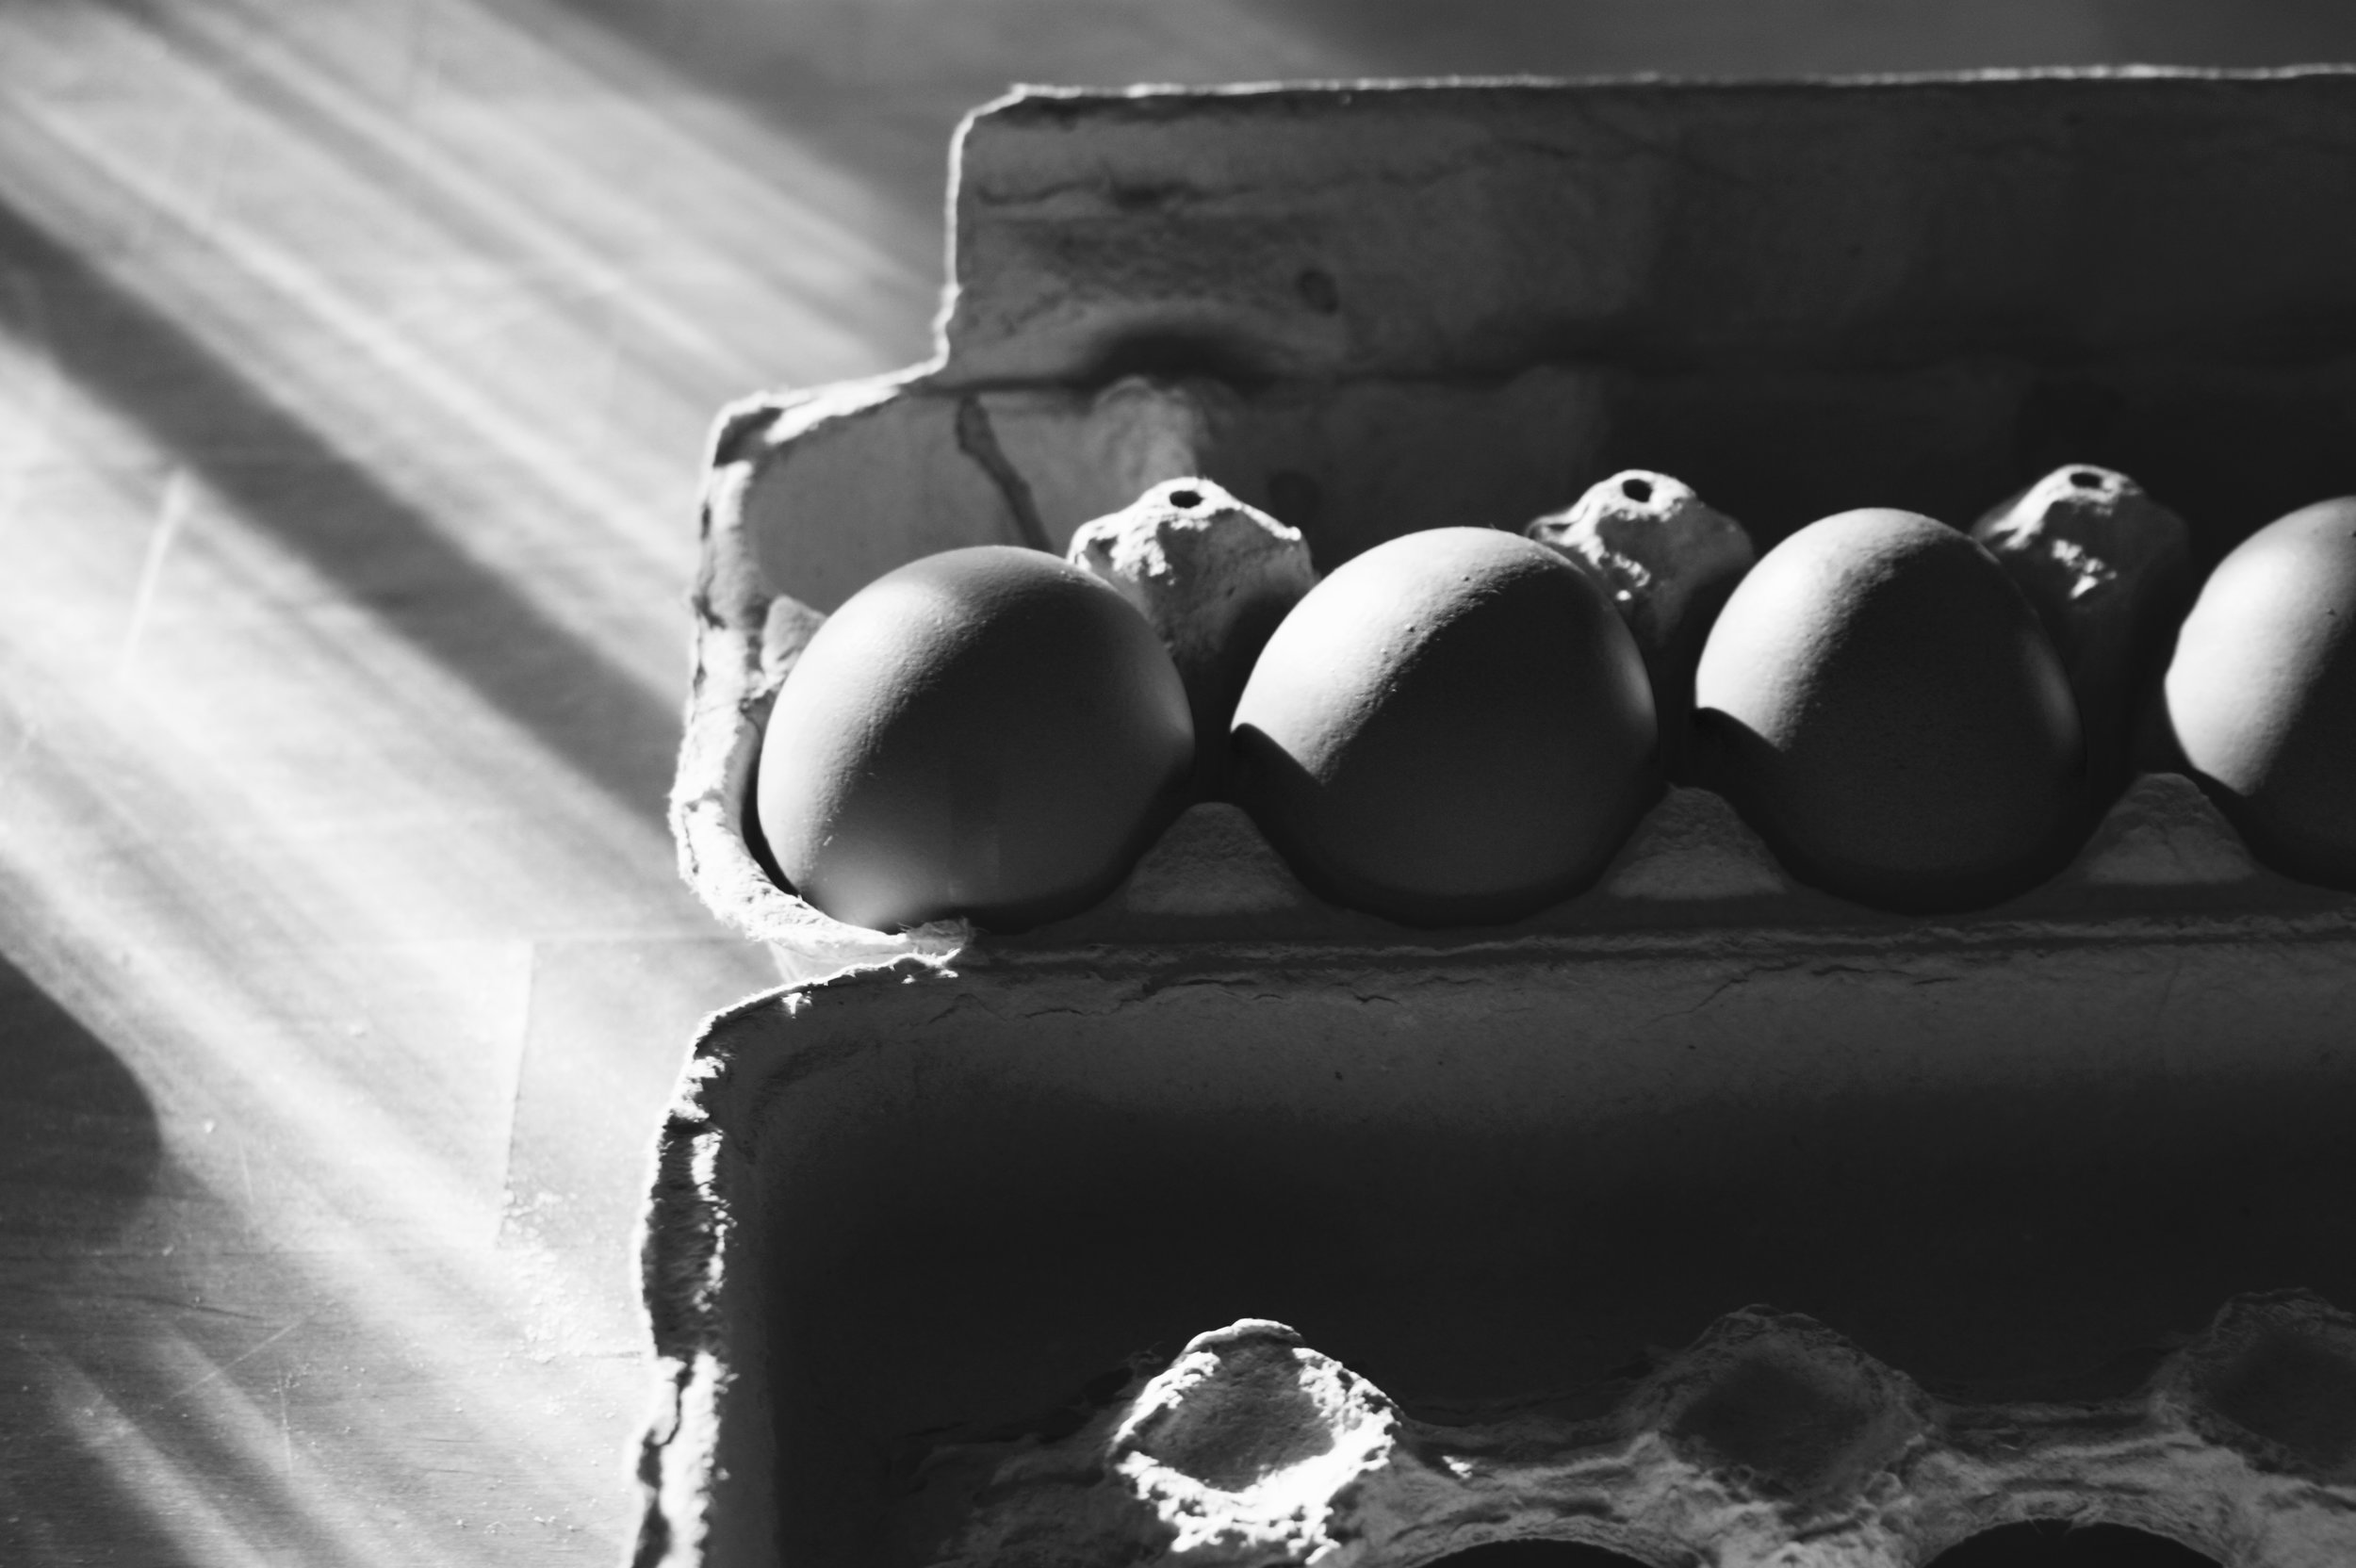
  • 1 large egg + 1 egg yolk, at room temperature
  • 2 teaspoons pure vanilla extract
  • 1 cup semi-sweet chocolate chips or chocolate chunks


fullsizeoutput_822.jpeg

method

(www.sallysbakingaddiction.com/2013/05/13/chewy-chocolate-chunk-cookies/)

1. whisk flour, baking soda, cornstarch + salt together in a large bowl. set. aside. 

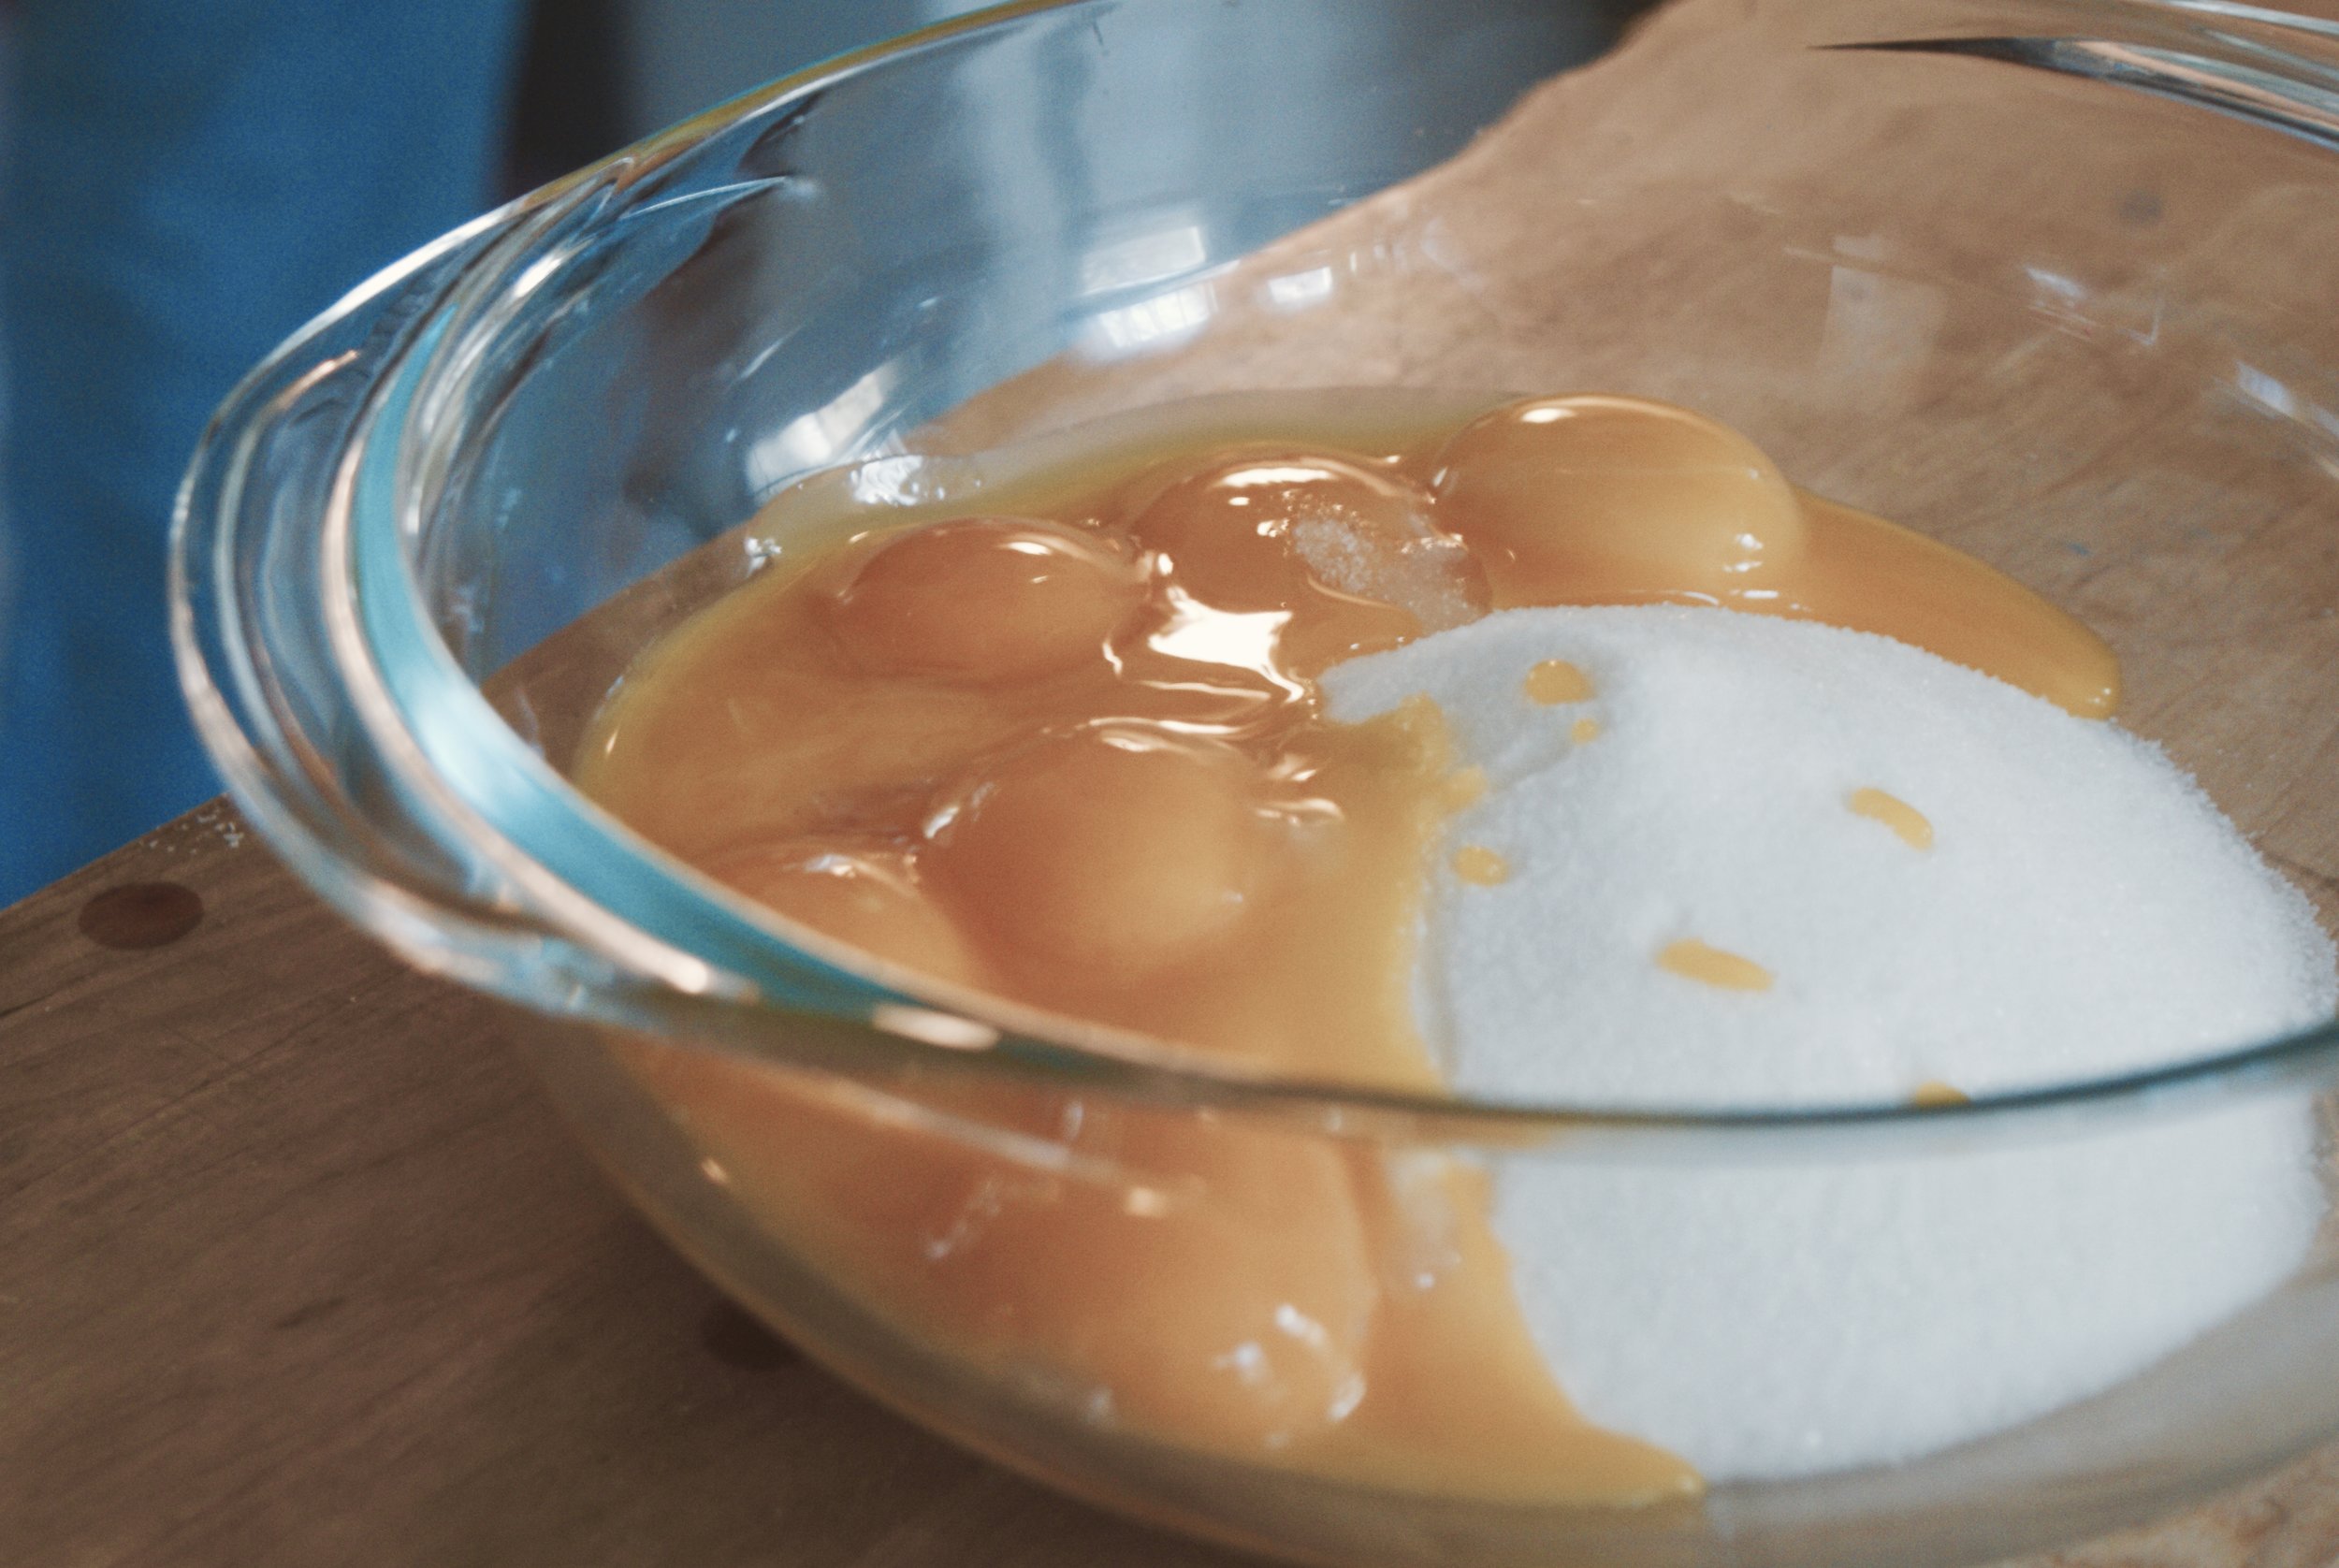
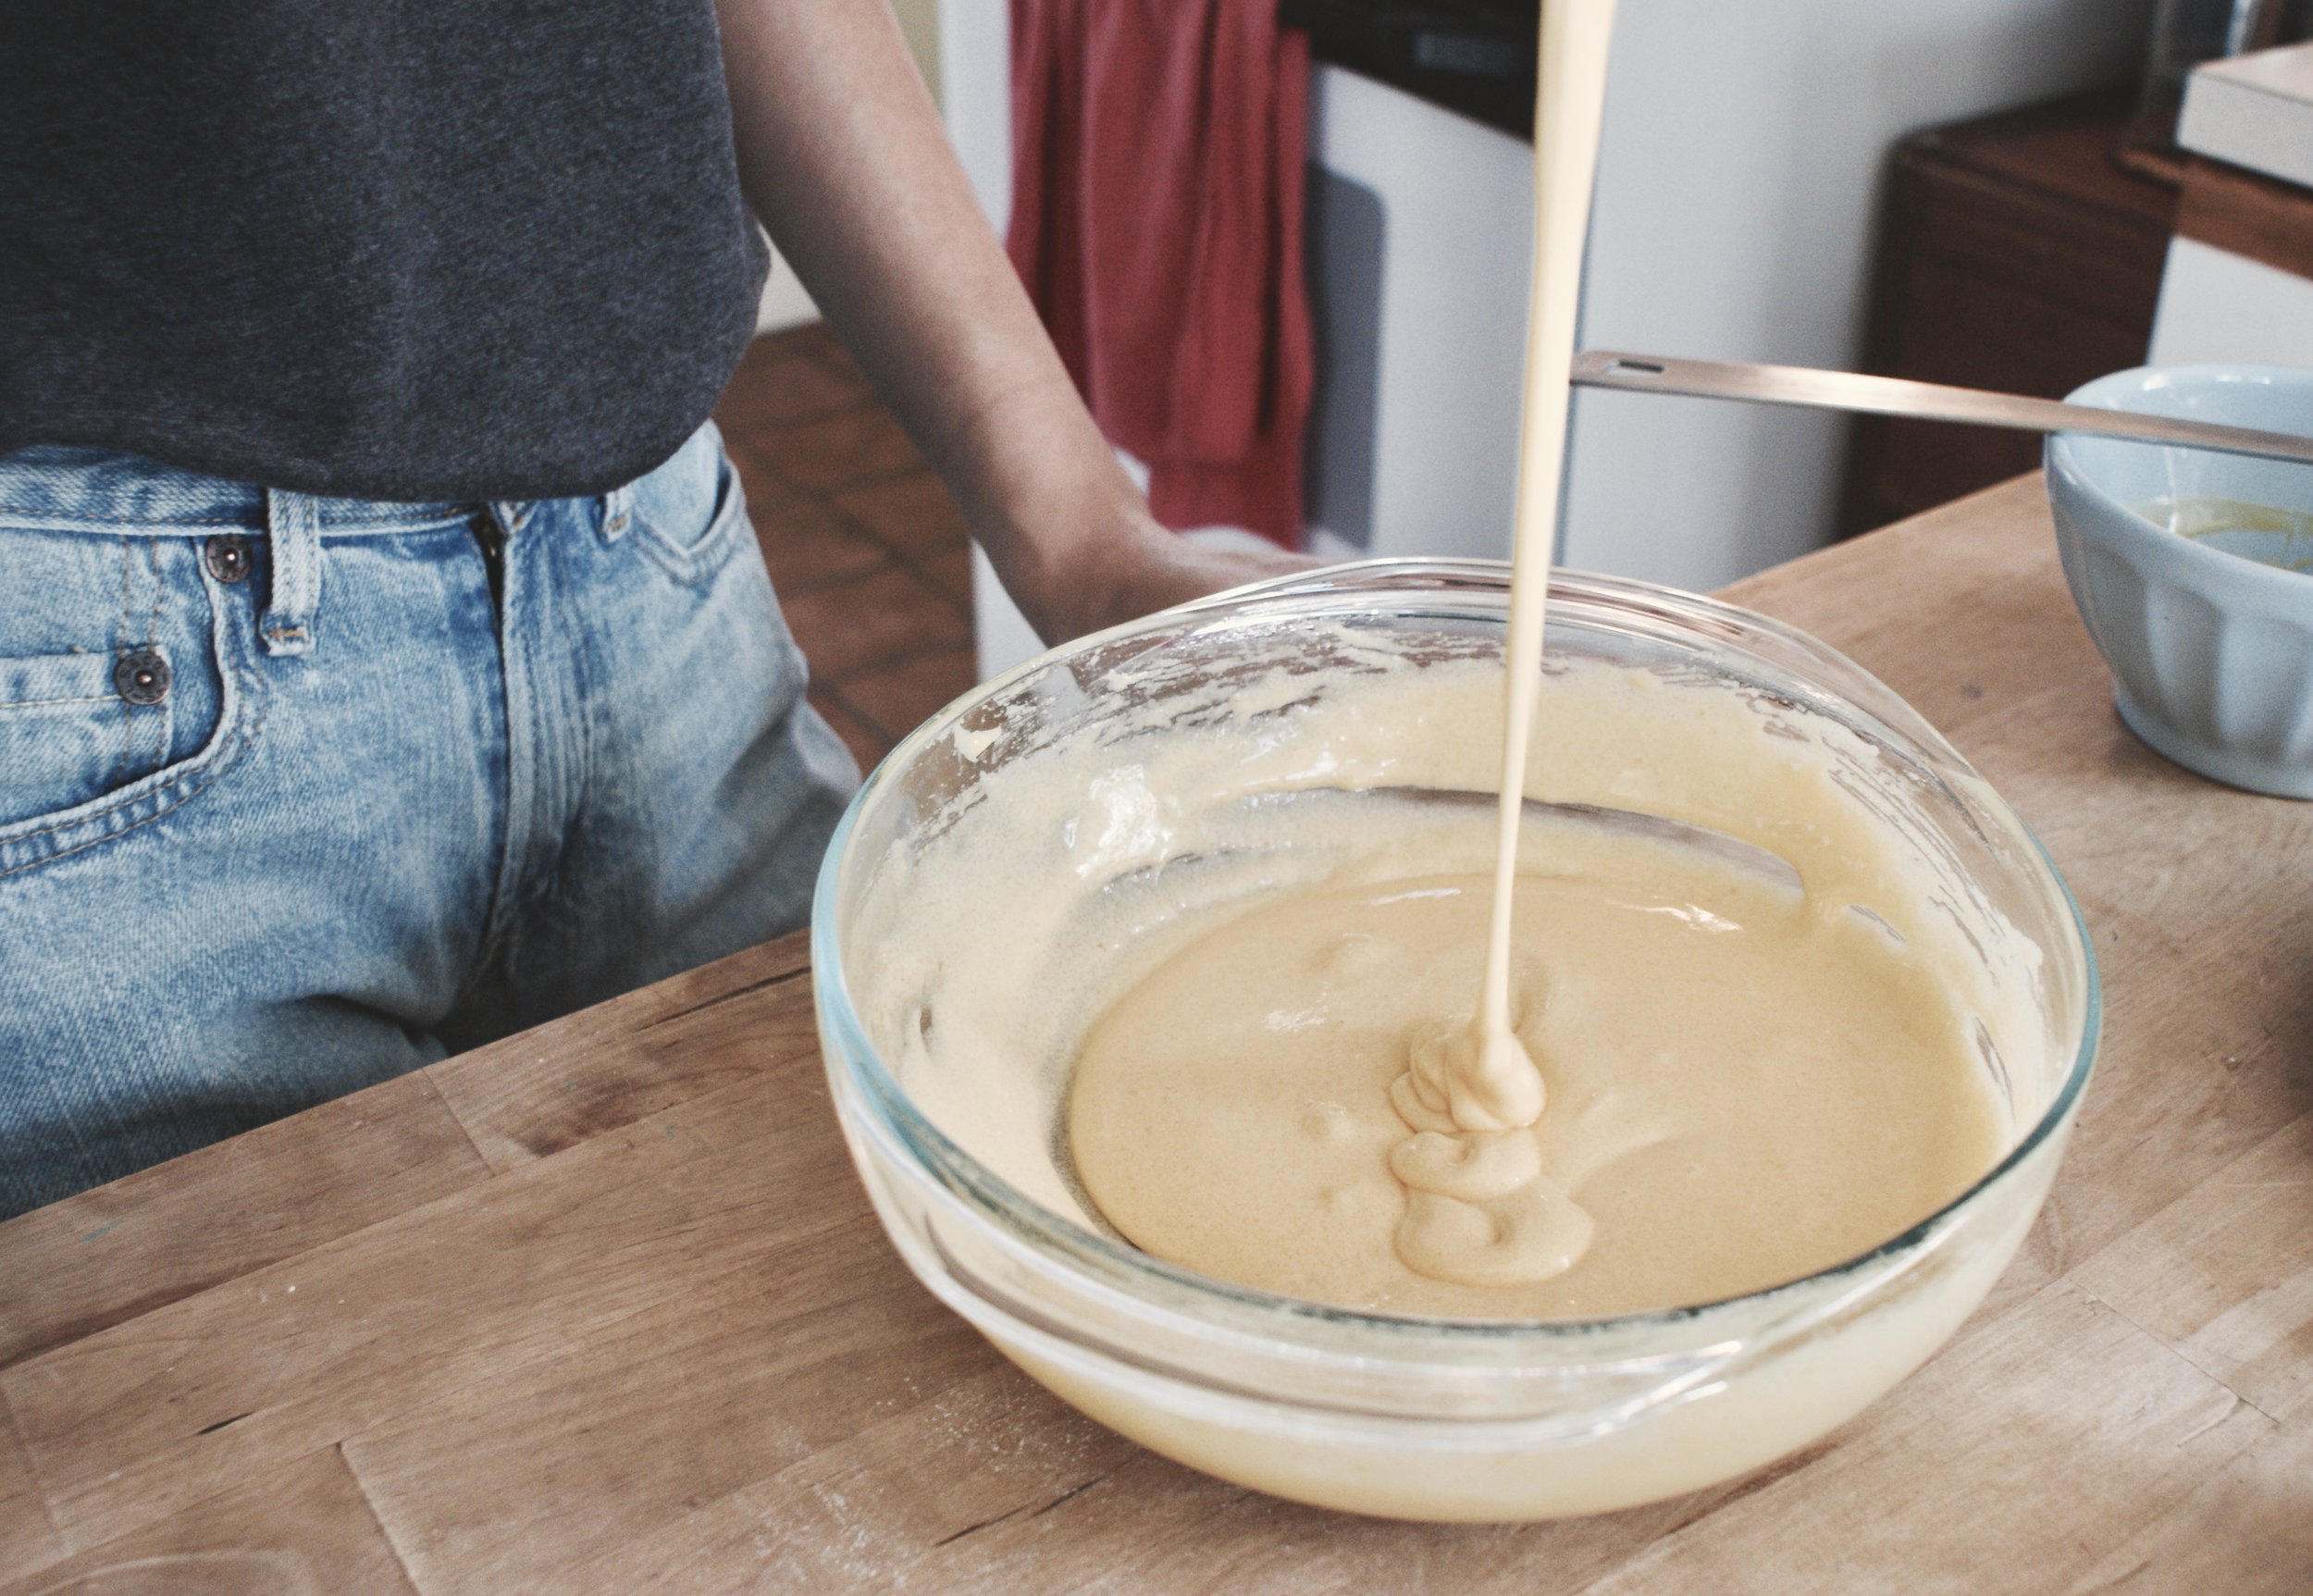
2. In a medium bowl, whisk the melted butter, brown sugar, and granulated sugar together until no brown sugar lumps remain. Whisk in the egg, then the egg yolk. Finally, whisk in the vanilla extract. Pour the wet ingredients into the dry ingredients and mix together with a large spoon or rubber spatula. The dough will be very soft, yet thick. Fold in the chocolate chunks. They may not stick to the dough because of the melted butter, but do your best to combine them. Cover the dough and chill in the refrigerator for 3 hours or up to 3-4 days. Chilling is mandatory. Chilling the cookie dough overnight is highly recommend for less spreading.

3. Take the dough out of the refrigerator and allow to slightly soften at room temperature for 10 minutes.

4. Preheat oven to 325°F (163°C). Line two large baking sheets with parchment paper. set aside. 

5. Roll the dough into balls, about 3 Tablespoons of dough each. The dough will be crumbly, but the warmth of your hands will help the balls stay together. Roll the cookie dough balls to be taller rather than wide, to ensure the cookies will bake up to be thick. Place 8 balls of dough onto each cookie sheet. Press a few more chocolate chips/chunks on top of the dough balls for looks, if desired.

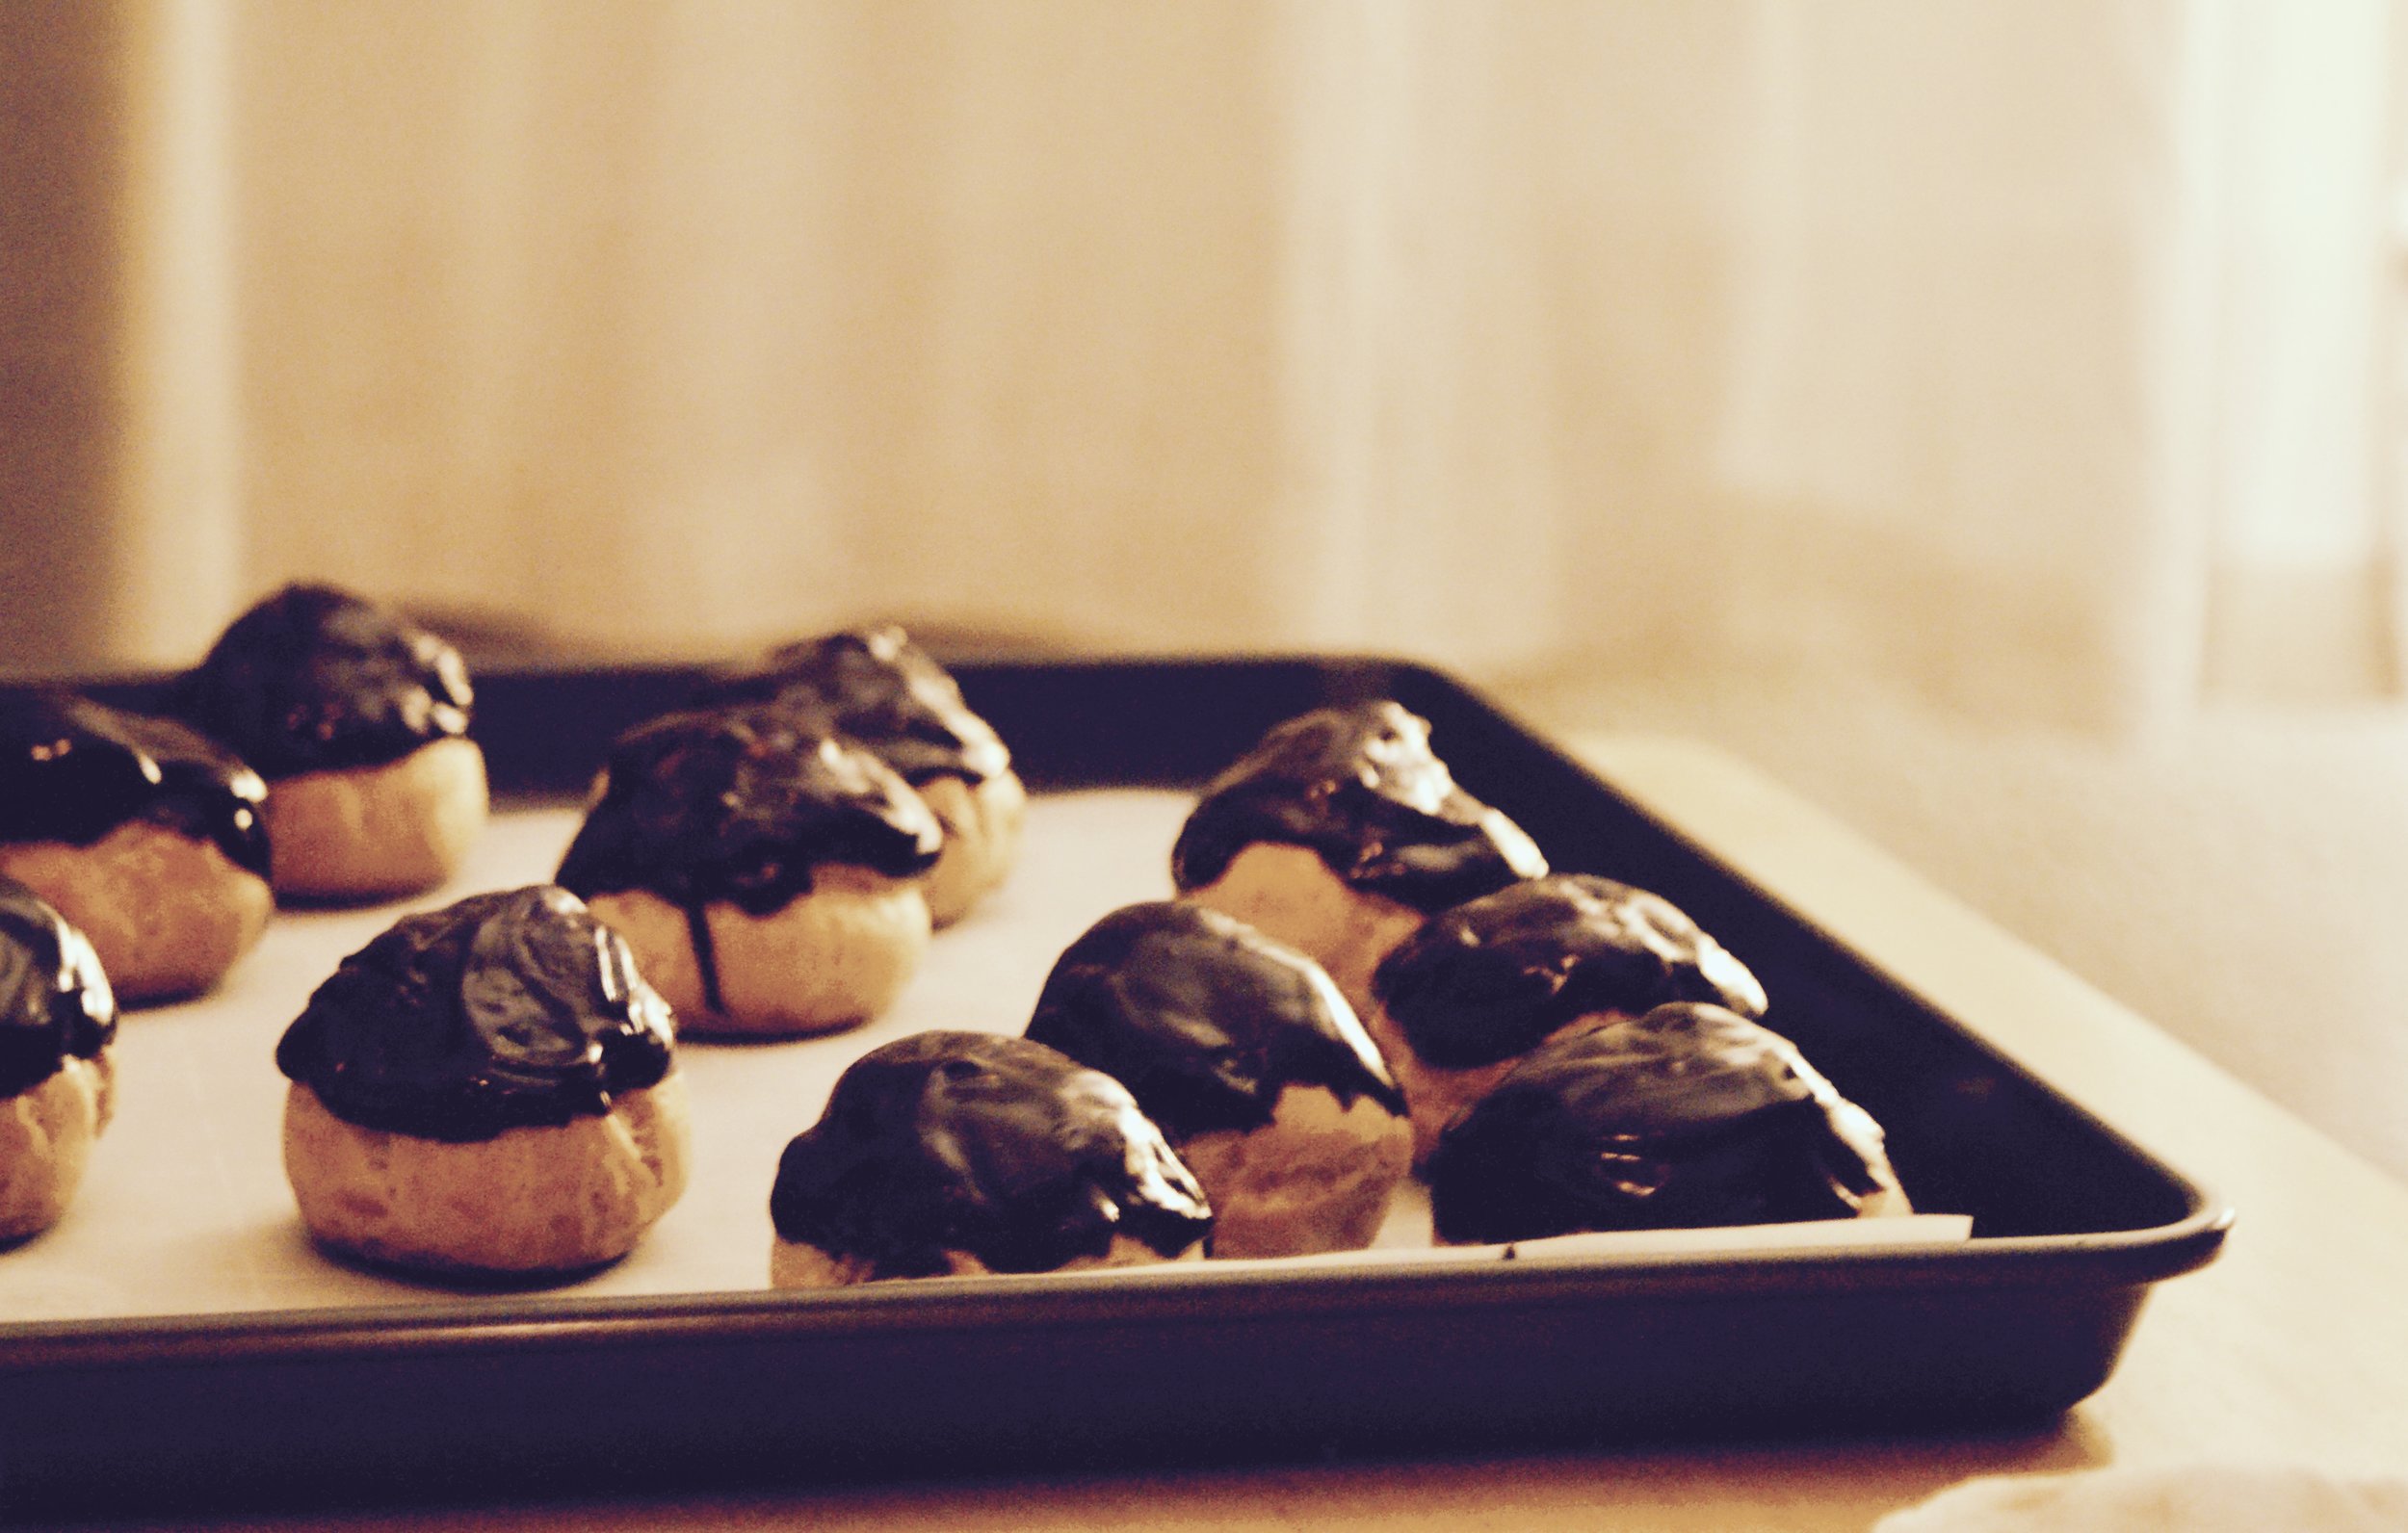
6. Bake the cookies for 11-12 minutes. The cookies will look very soft and underbaked. They will continue to bake on the cookie sheet. Allow to cool on the cookie sheet for 10 minutes before transferring to a wire rack to cool completely.

fullsizeoutput_813.jpeg
fullsizeoutput_80f.jpeg
fullsizeoutput_819.jpeg
fullsizeoutput_810.jpeg
fullsizeoutput_834.jpeg
fullsizeoutput_82c.jpeg
fullsizeoutput_832.jpeg

Cream Puffs: A Labor of Love

As Angel Olsen echoed throughout the kitchen, Mida + I began what turned into a six hour process of a creative + culinary collaboration. I brought out my camera and sought to capture the method of the making, as not to interfere with her culinary artistry. Sunlight illuminated the kitchen and dining room spaces, which were filled with bowls, baking utensils, copious amounts of chocolate chips, eggs, and other necessary means.

Afternoon progressed into evening. Mida created, I recorded, the sun set, and the magic unfolded. I have included her recipe along with this series of photographs to provide a glimpse of the elaborate process, her talent, & means to try it yourself, should you ever have the muse. 

♡ cream puffs ♡

pâte à choux (the puff)

  • 1 cup all purpose flour
  • 1 teaspoon sugar
  • 1/2 teaspoon salt
  • 1/2 cup unsalted butter, cut into pieces
  • 1/2 cup water
  • 1/2 cup milk
  • 5 eggs

pastry cream

  • 2 cups whole milk or half & half 
  • 2 cups 2% milk
  • 1 and 1/4 cups of sugar
  • a pinch of salt
  • 8 egg yolks 
  • 6 tablespoons cornstarch
  • 8 tablespoons unsalted butter
  • 1 and 1/2 tablespoons vanilla extract


chocolate ganache glaze

  • 1/2 heaping cup semi-sweet chocolate chips
  • 1/2 heaping cup dark chocolate chips
  • 1/2 cup heavy cream

method

  1. start making the pastry cream by heating milks & 1 tbsp of vanilla in a sauce pan over med-high heat until simmering, stirring occasionally.
  2. meanwhile, combine egg yolks & sugar in a medium bowl and whisk until sugar turns pale yellow. whisk in cornstarch until smooth. 
  3. once milk is simmering, remove from heat. use ladle to carefully scoop some of it into egg yolk mixture to temper it, whisking constantly. add one more ladle of milk then return the mixture into the saucepan, scraping the bowl with a rubber spatula. 
  4. continue whisking constantly over med heat for about 15-20 min, until mixture is thickened & glossy. adjust your stove dial to just below medium heat if you are afraid of burning your cream. vigorously whisking the cream is unnecessary; find a rhythm while stirring & pace yourself. 
  5. when cream is glossy & smooth throughout, take it off the heat. whisk in the butter & 1/2 tablespoon of vanilla until all chunks of butter disappear. pour through a fine meshed sieve into a large container. press plastic wrap onto surface to prevent a skin from forming, then cover with a lid. 
  6. refrigerate until cold & set, at least 3 hours or over night. to save time, you can also chill in an ice bath. 

for the puff

  1. preheat oven to 375 degrees F & place rack in center of oven. line baking sheet with parchment paper. 
  2. place butter, water, & milk in a heavy saucepan over med-high heat and bring to a boil. make sure butter melts before water boils to reduce the amount of evaporation. 
  3. whisk together flour, sugar, and salt.
  4. once boiling, remove from heat & dump in flour mixture all at once, stirring constantly. return saucepan to heat and keep mixing until dough comes away from all sides of the pan & forms into a thick, smooth ball. (approx. 5 min) 
  5. remove from heat & keep hand mixing to release steam from dough. (approx. 3min)
  6. begin adding eggs individually after being fully mixed into dough. *I usually crack the last egg into a small bowl & lightly beat it, pouring half of it into my dough and saving the rest for an egg wash* the dough should be the consistency of a thick paste that falls form the spoon like a thick ribbon. 
  7. pipe mounds of dough onto the baking sheet. use egg wash to smooth tops of the mounds.  bake for 15 min at 375-400 degrees F. then lower heat to 350 & continue baking or another 15 min or until puffs are amber colored. 
  8. turn off oven and leave oven door slightly ajar, letting the puffs dry out & cool completely. 
My favorite hour to be in the kitchen is sunset. I loved how the light played with the textures of eggshells + flour and the patterns that were reflected by glass bowls onto the hardwood. 

My favorite hour to be in the kitchen is sunset. I loved how the light played with the textures of eggshells + flour and the patterns that were reflected by glass bowls onto the hardwood. 

completing your cream puff

  1. fill a piping bag with the cream & snip a hole at the tip, just enough for you to have control of the cream to come out smoothly. 
  2. using the tip of the piping bag, puncture a hole into a puff and fill it with cream. (filling the cream puff at the top makes it a bit less messy to eat or display once you cover up the hole with chocolate ganache)
  3. once all of your puffs are filled, put them in the refrigerator while you make your chocolate ganache. 
  4. heat the heavy cream in a small saucepan until just boiling then remove from heat. pour over chocolate. let sit for 3 min then gently stir. if there are still lumps of chocolate in the ganache, microwave using 15 sec intervals or melt using a double boiler method. 
  5. take cream puffs out of fridge & dip them into the ganache one at a time. allow ganache to set by placing cream puffs back into the fridge or enjoy promptly after glazing!!

One of the most gratifying parts of the process was adding the final touches to the puffs, dipping them in ganache & bringing them to completion. The shells were crisp, the cream cooled, the ganache melted.

Prime hour to indulge!

From Backyard to Table: Finishing What Another Started

Last year, many months ago, I planted carrot seeds with my brother in the garden bed he had started in the backyard. As the space wasn't optimal for growing carrots, their cultivation was slow-coming. We pulled up a few around normal harvest time, but they were just tiny little carrot sproutlings.

The rest remained growing. My brother left the nest for college, & his garden was left unattended and unharvested for some time. The carrots sat until I decided to take action, the day spring introduced itself once again. Instead of doing my homework, I weeded the garden bed and pulled up all of the remaining carrots. Some had been eaten by underground creatures, others were usable. After washing them once, I soaked them in a bowl of water for the next few days until I had time for cooking + prep.  

DSC01902.jpg

After straining them, I scrubbed + rinsed dirt from each and cut off their ends. Next, I chopped them into sizable pieces. 

These carrots have an extremely potent, almost bitter flavor. As they likely wouldn't be eaten raw, I knew the best way to utilize them was to roast them. I preheated the oven to about 415 degrees.  

In a medium mixing bowl, I poured in some olive oil and mixed the pieces until they were covered. My original plan was to pair the potent carrots with the loudness of plenty of fresh rosemary, but we had none. So I improvised. I sprinkled a little cinnamon, some ginger, and of course kosher salt and cracked pepper. Mom found a dried up sprig of rosemary somewhere between our house and the neighbors', which I added to the mix.  I threw them onto a baking pan, also deciding to add some golden beets I sliced for variety, then into the oven.

I didn't set a timer, but would estimate they roasted for around 30 minutes. After checking on them a couple times, and took them out as they had become soft and golden/ browned on the edges. 

Root vegetables go well paired with a meats, beans or legumes, and greens. This particular evening, my toilsome carrot roast was paired with my dad's grilled chicken and sautéed kale. 

Normally, this side to a meal is very simple! Grab a bag or bunch of fresh carrots at your local grocery. Wash (peeling is unnecessary), chop, season, bake, and enjoy them around the table!